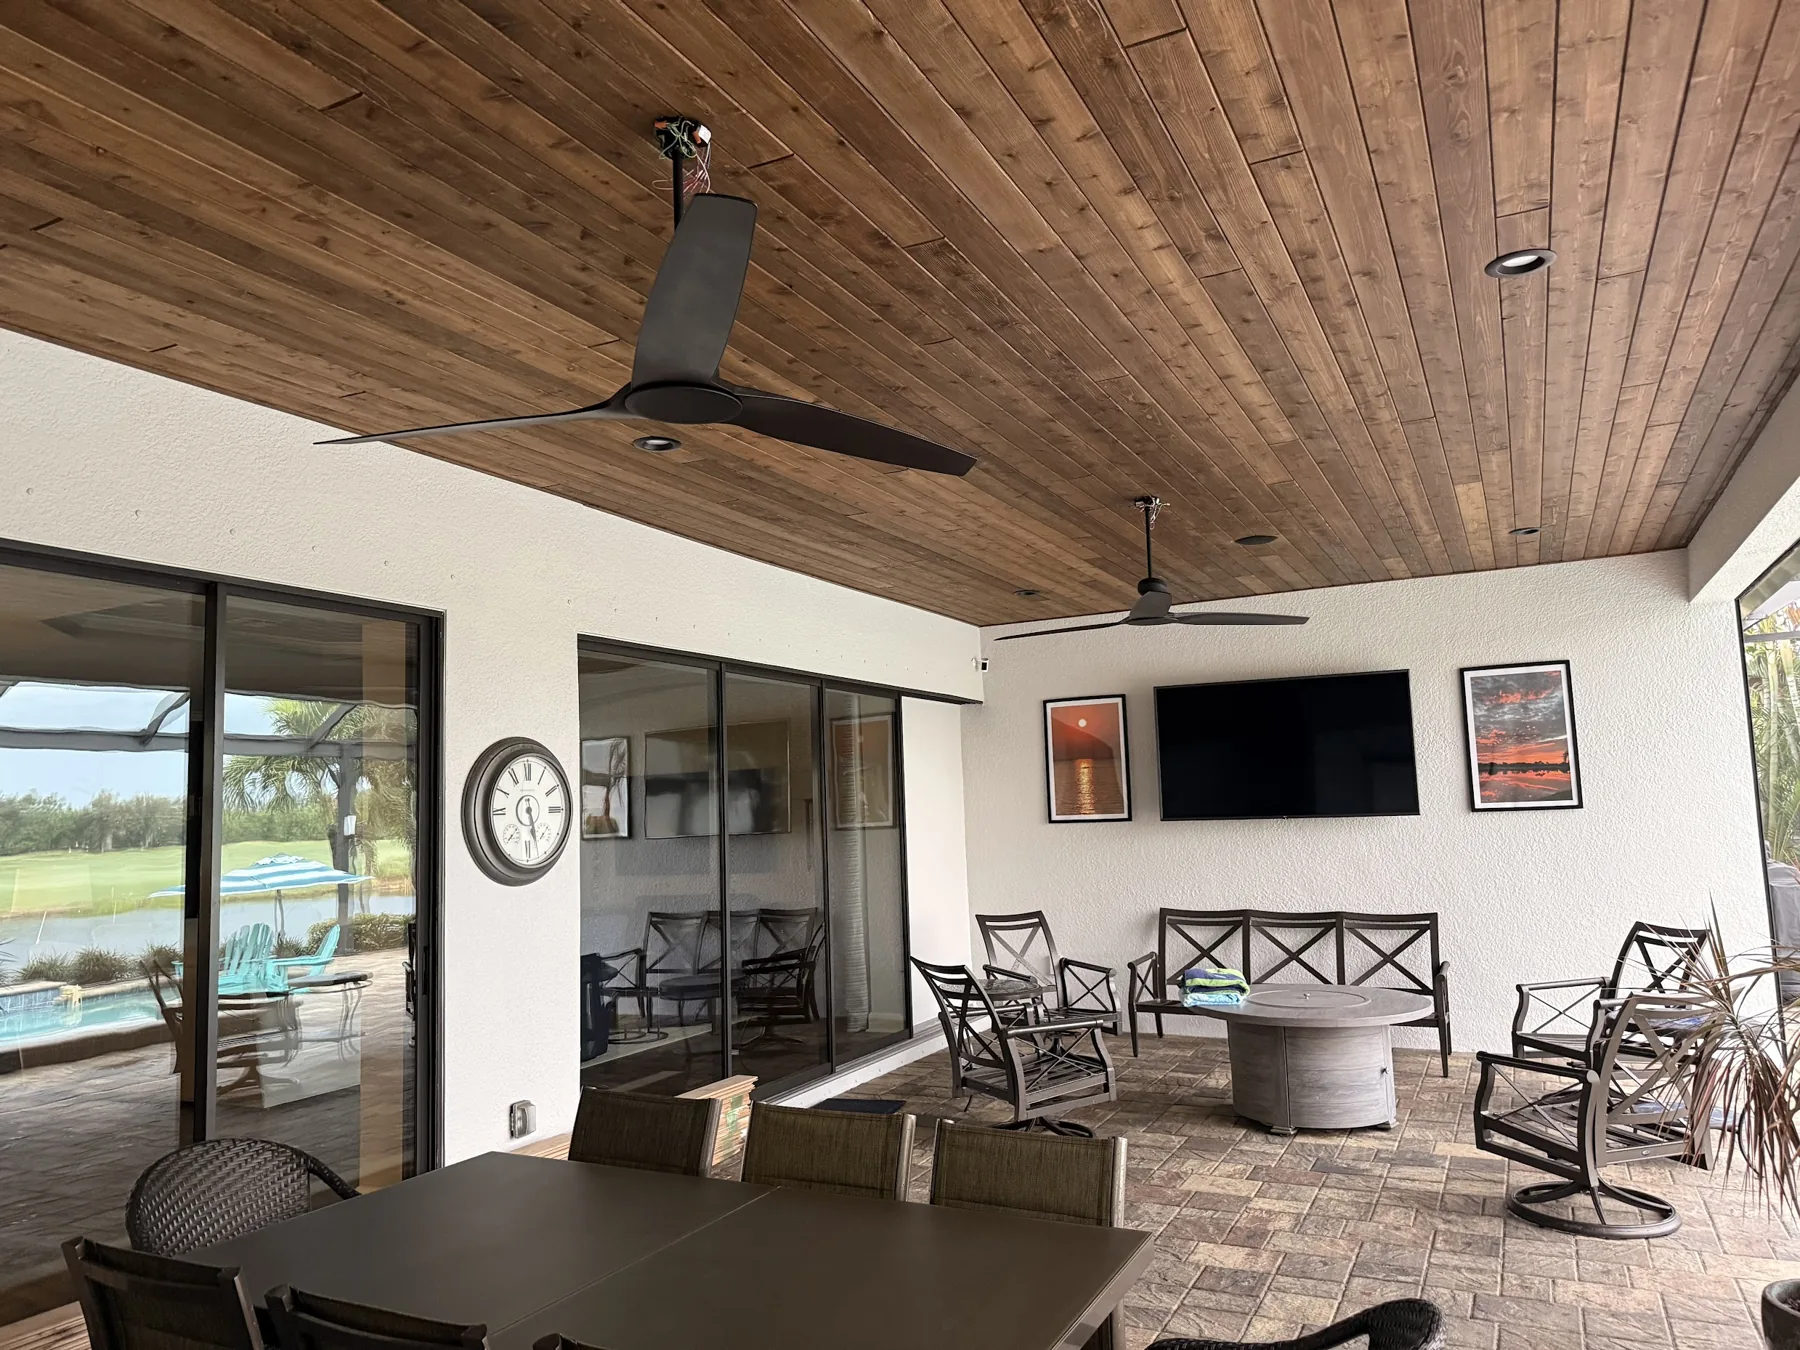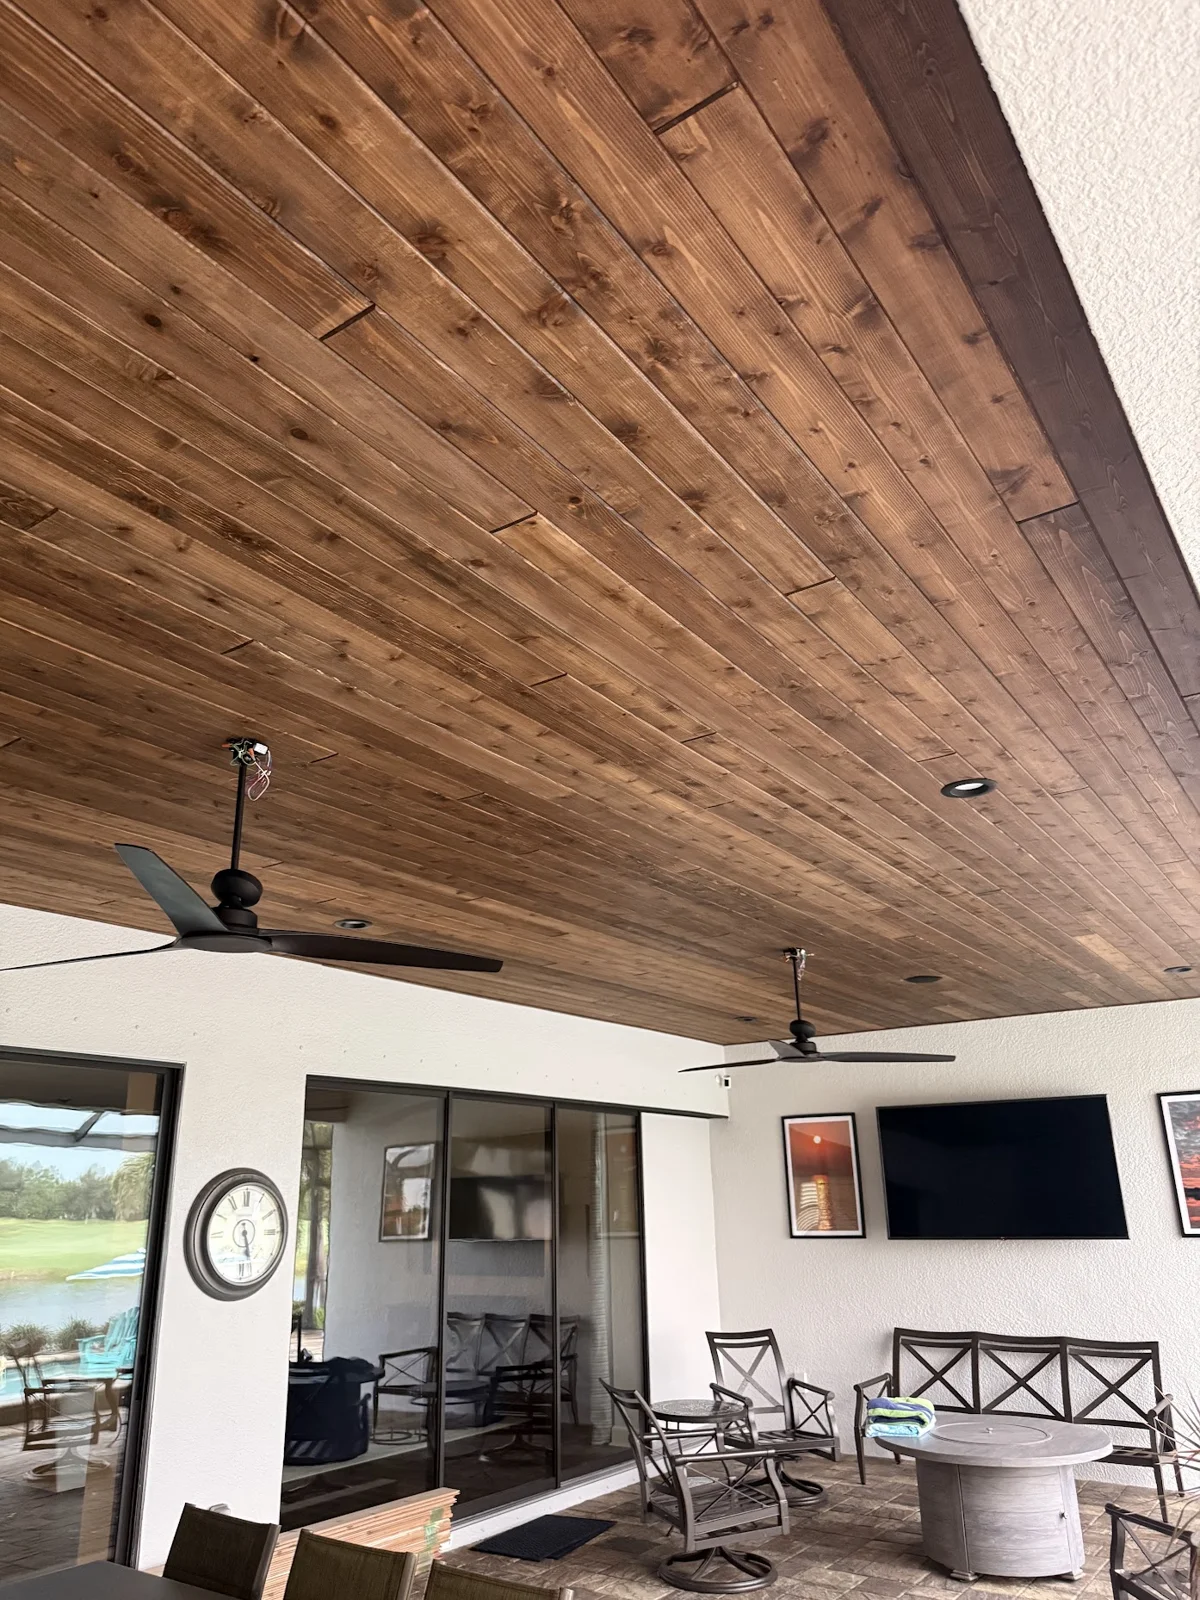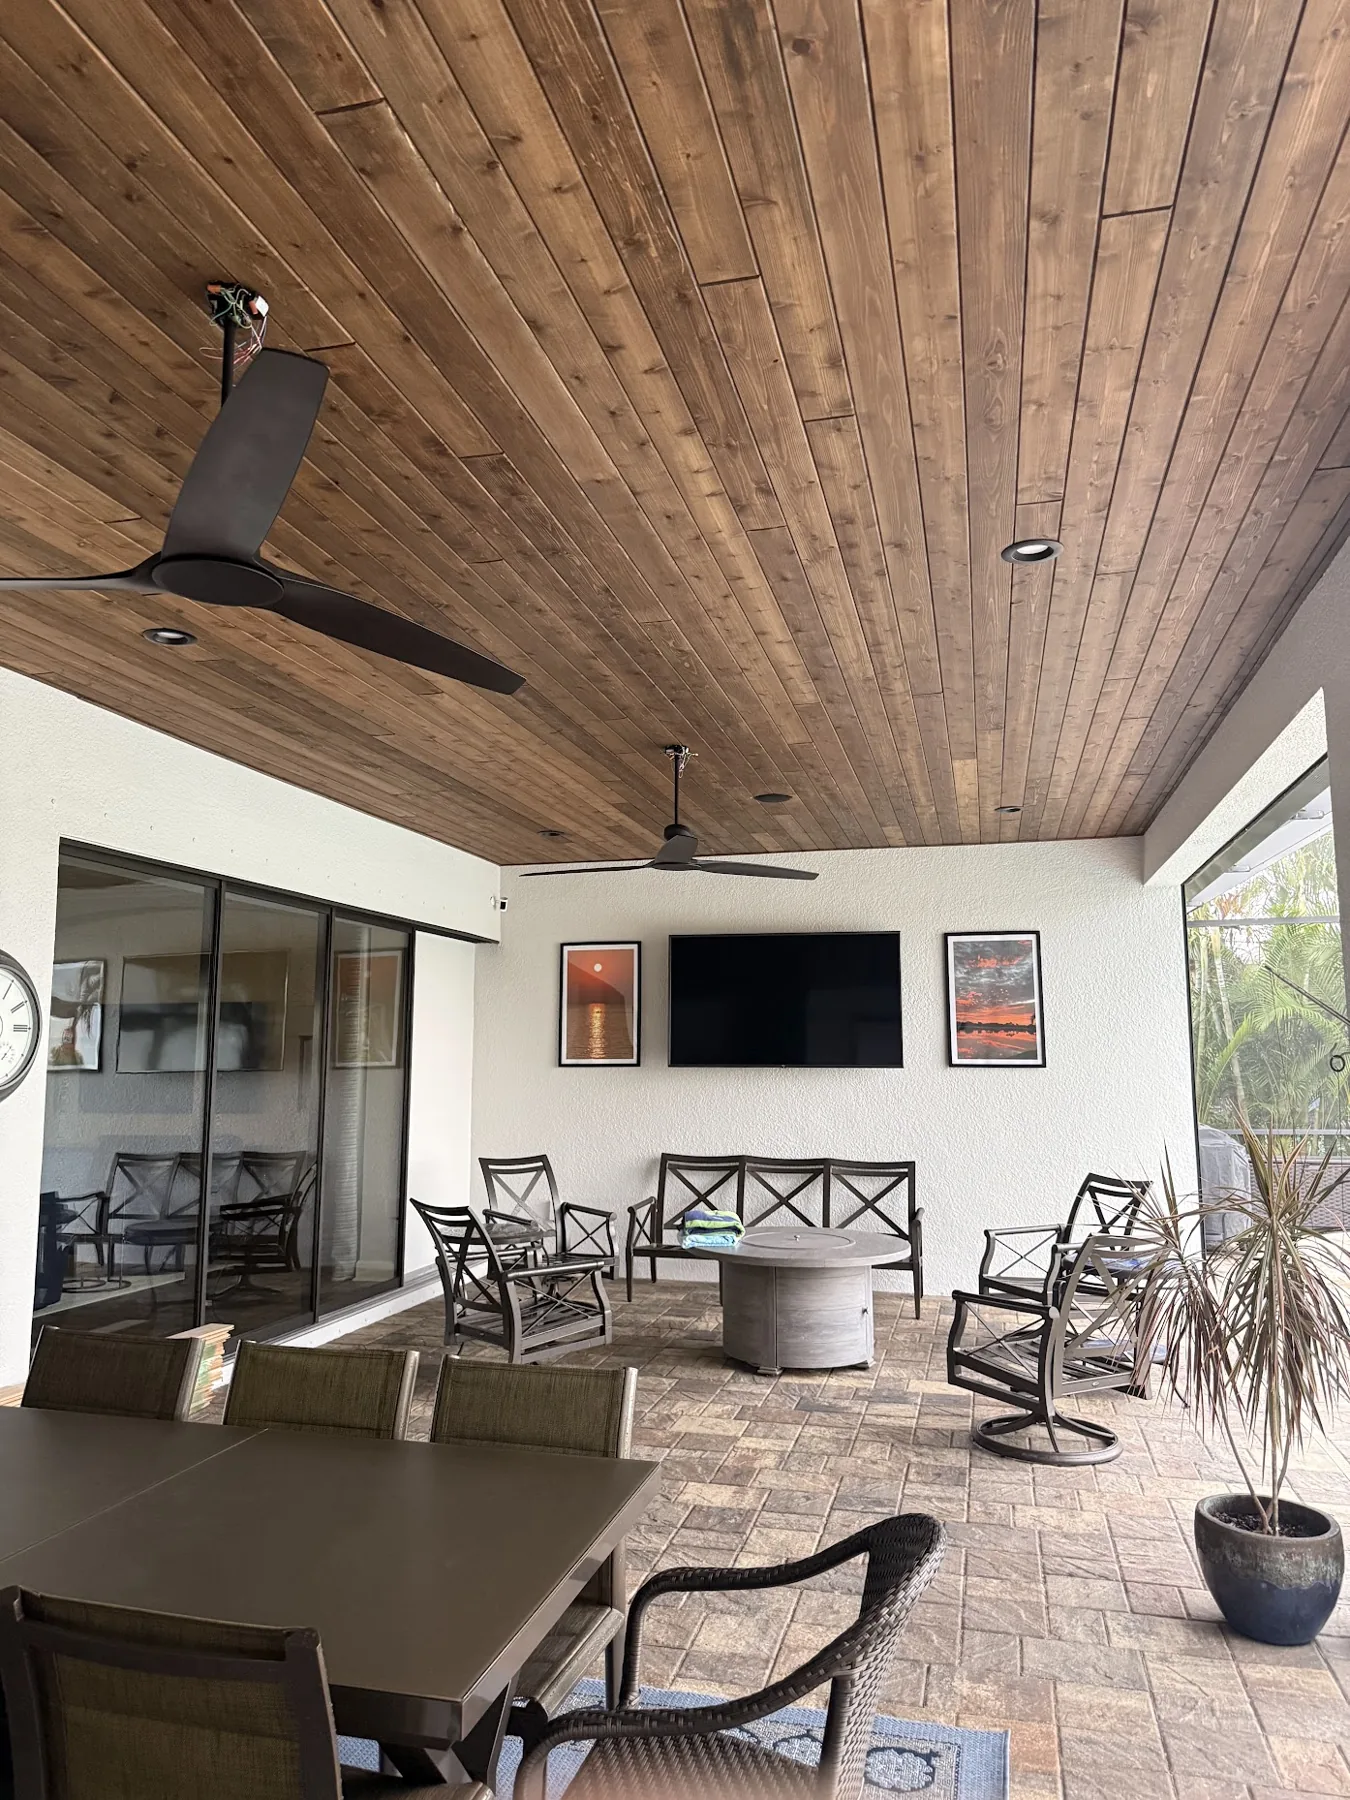
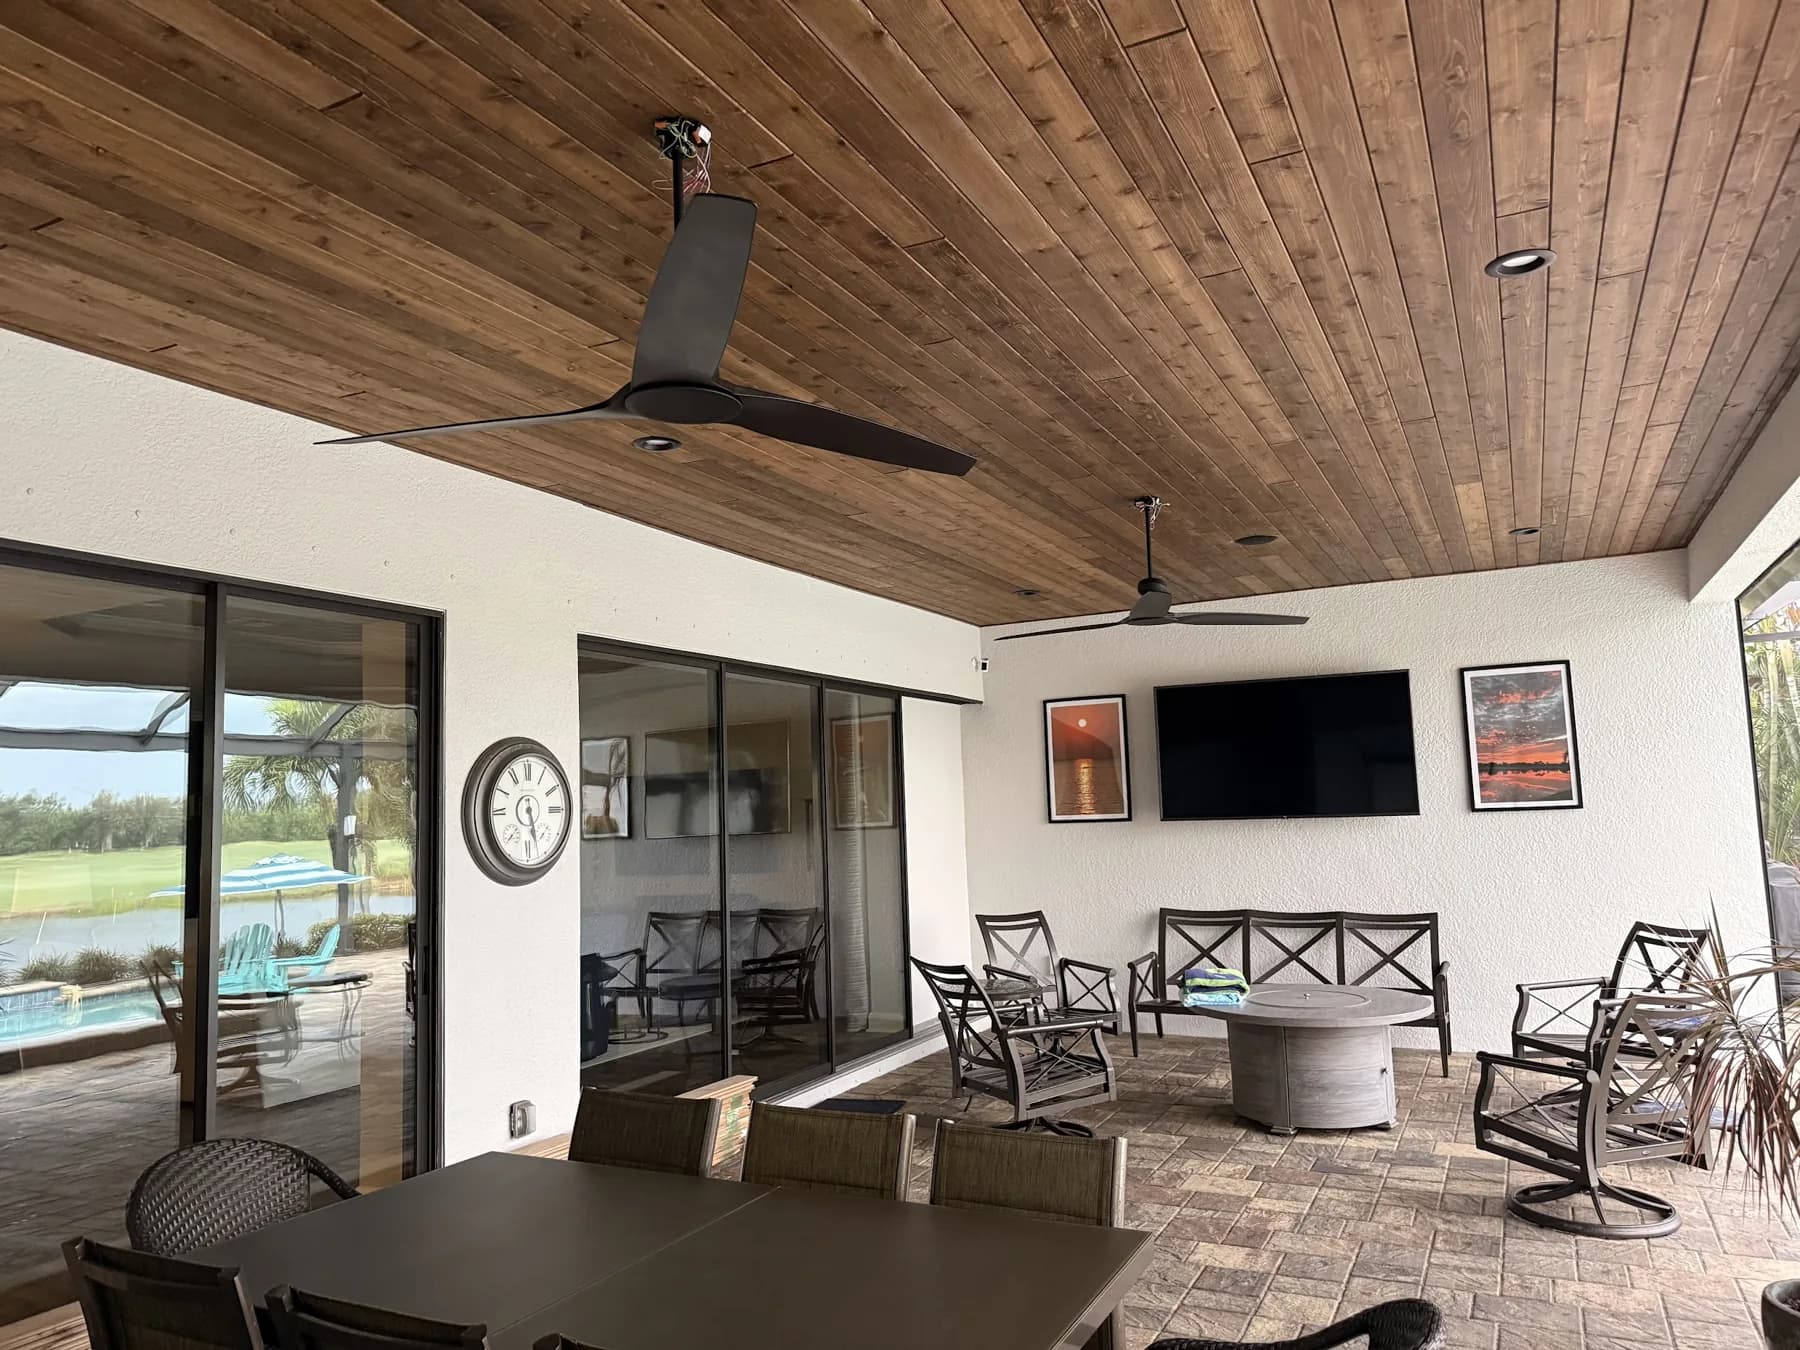
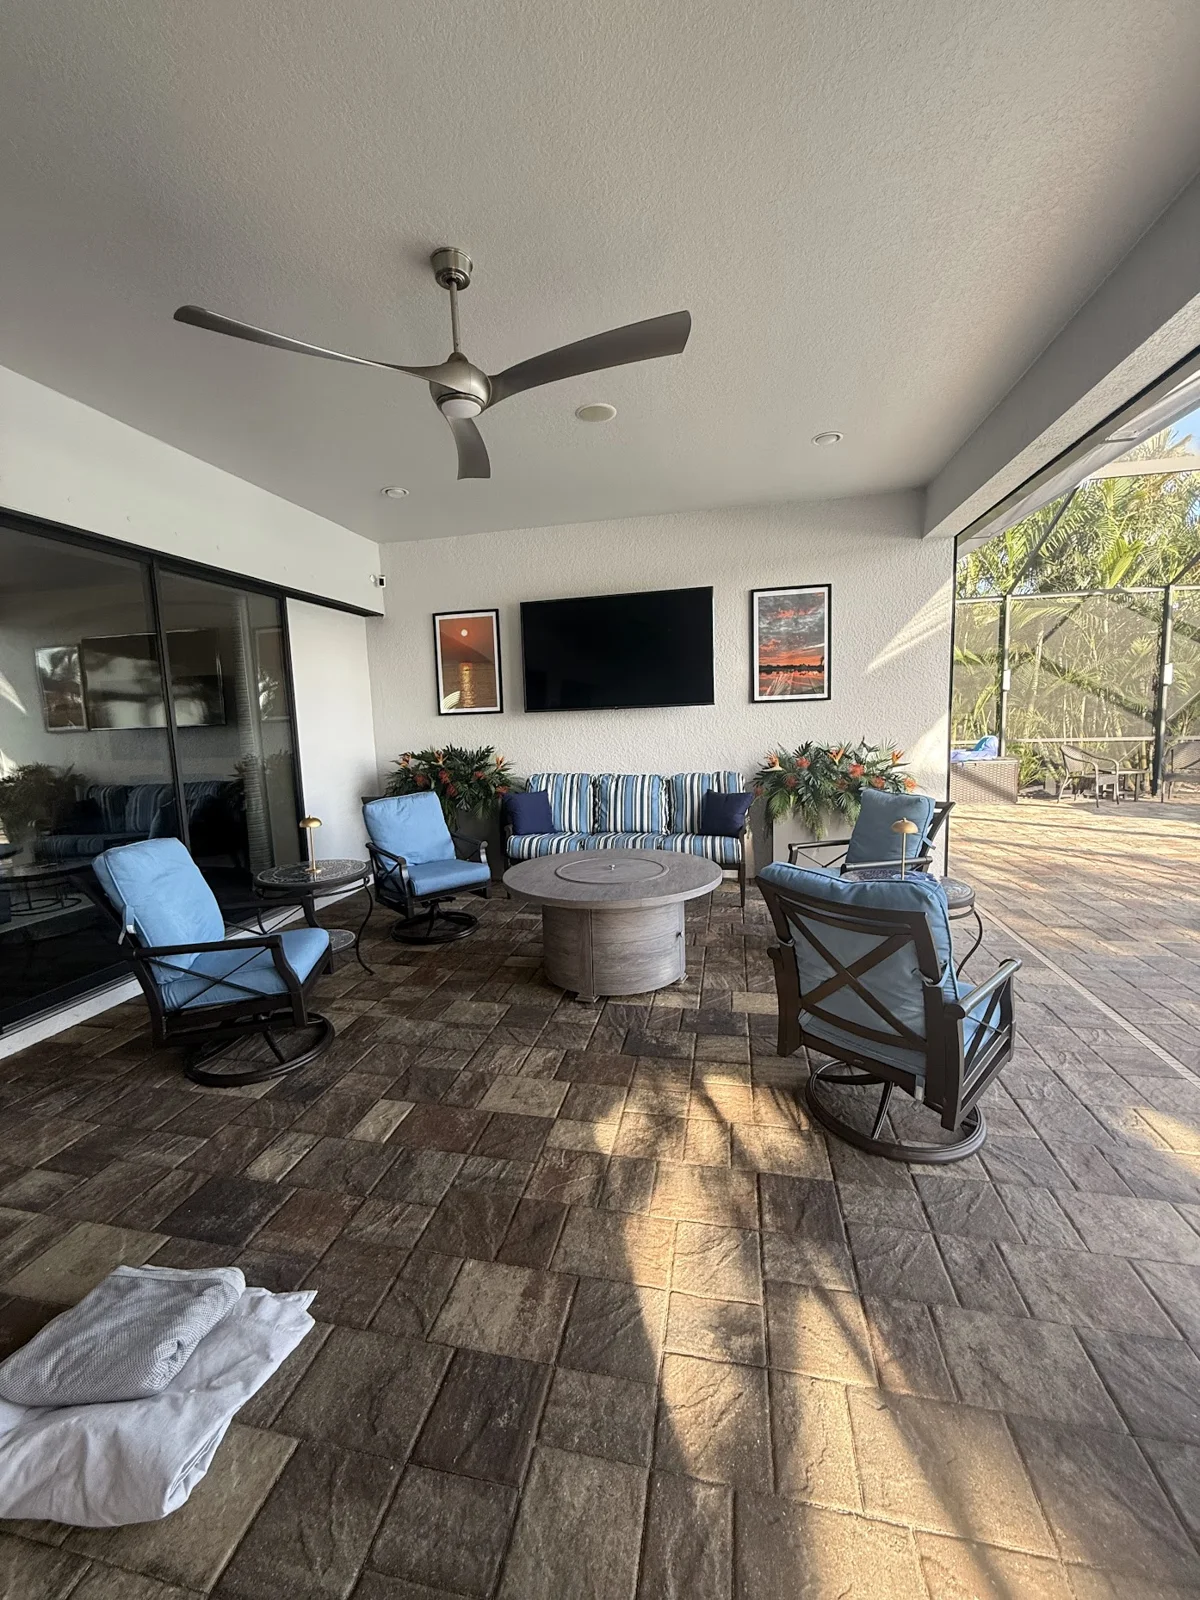
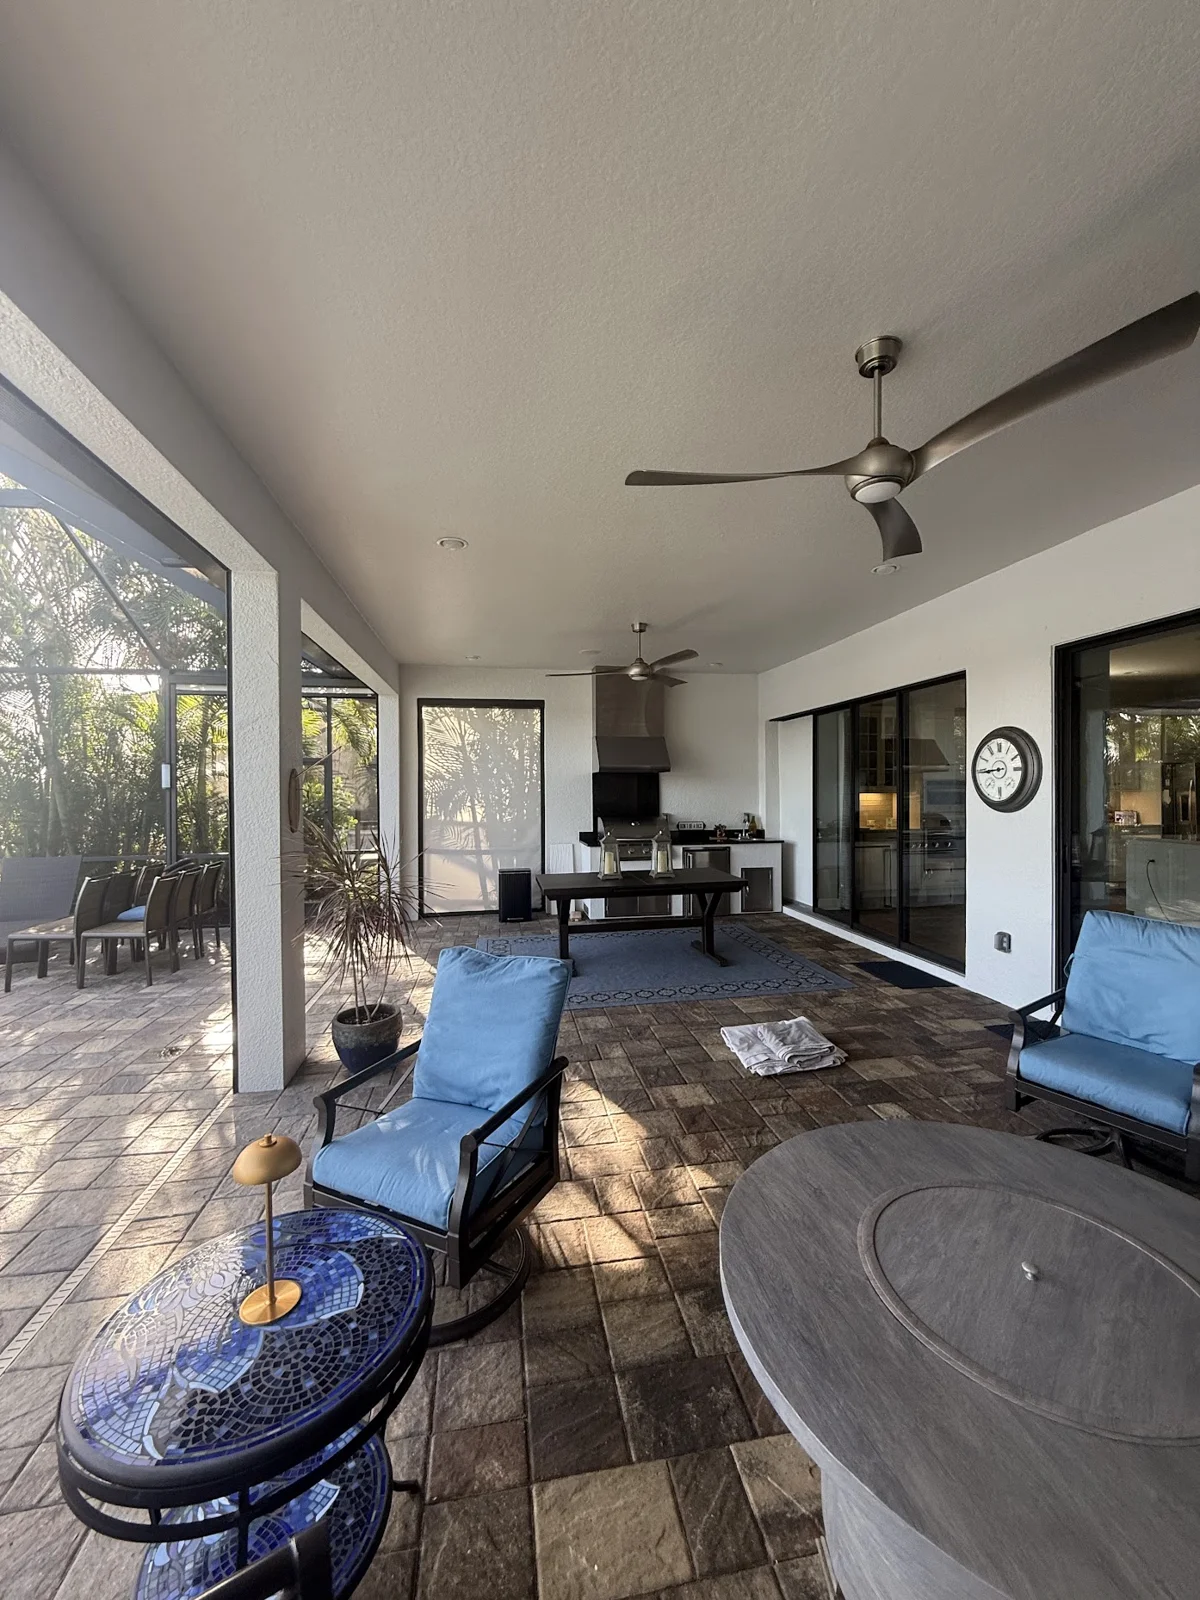
She came to us after seeing another cedar ceiling we’d done in Esplanade in Lakewood Ranch. Her lanai already had a beautiful view of the golf course, and she wanted the space itself to feel just as inviting—a warm, comfortable place to entertain or sit back and enjoy the view.
Project story by Tyler Thompson
Starting with a plain drywall ceiling
The ceiling was plain drywall. We talked about the upkeep—cobwebs, discoloration, and cleaning a surface that doesn’t handle water well. She wanted more character in the room, and a wood ceiling would make a big difference.
Getting the wood and color right
Before choosing the material, we took a photo of her lanai and used AI right there on site to show her some options. We tried different colors and board directions so she could see how they worked with the room. That helped her picture the finished space before committing to the wood and stain.
We talked through cedar, cypress, and exotic woods, along with why I generally steer away from pine for outdoor ceilings here in Florida. We landed on cedar for its natural character and resistance to decay and insect damage.
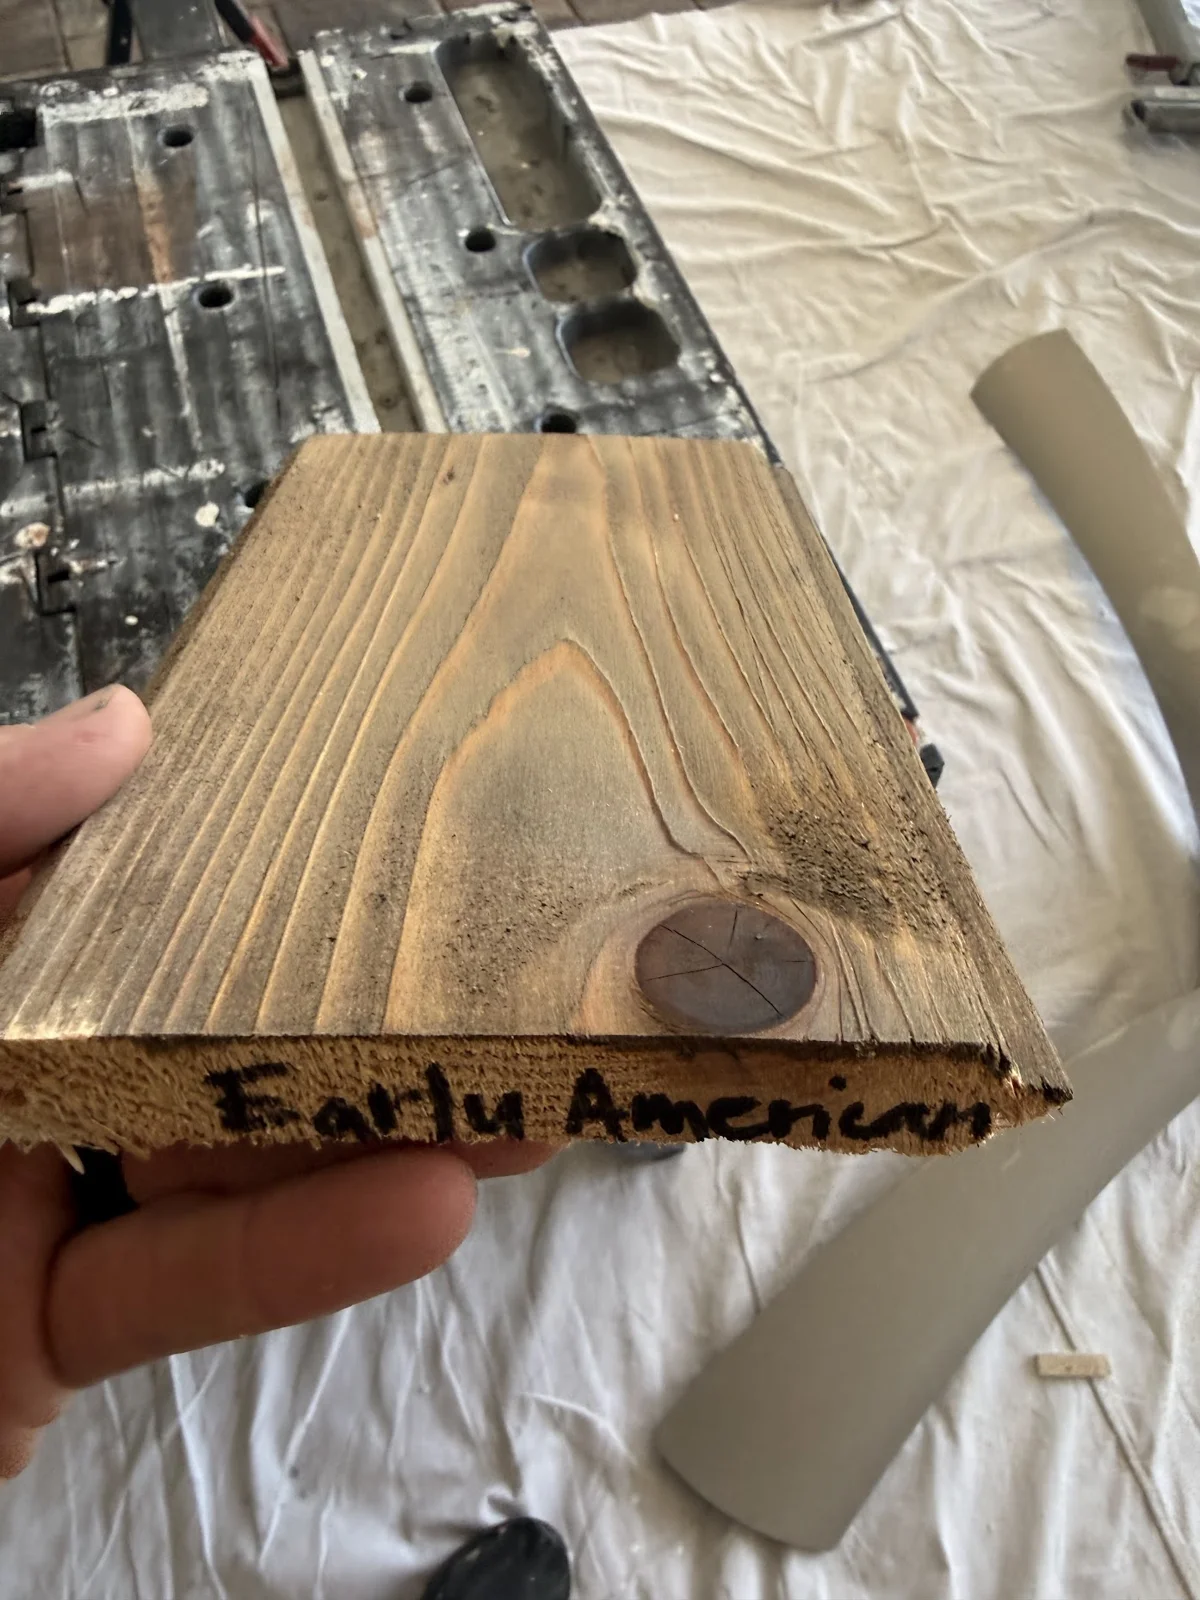
We used ¾-inch unfinished tongue-and-groove cedar from Kimal Lumber. Prefinished material can have a beautiful, consistent finish and save installation time, but getting the color right mattered to her. Finishing the boards ourselves gave us more control over the final look.
We stained the cedar in Early American before installation. The warm brown brought out the grain and matched the aesthetic she wanted. She liked the color without added sheen, so we didn’t apply an additional clear coat on this covered, screened lanai.
Why this ceiling needed furring strips
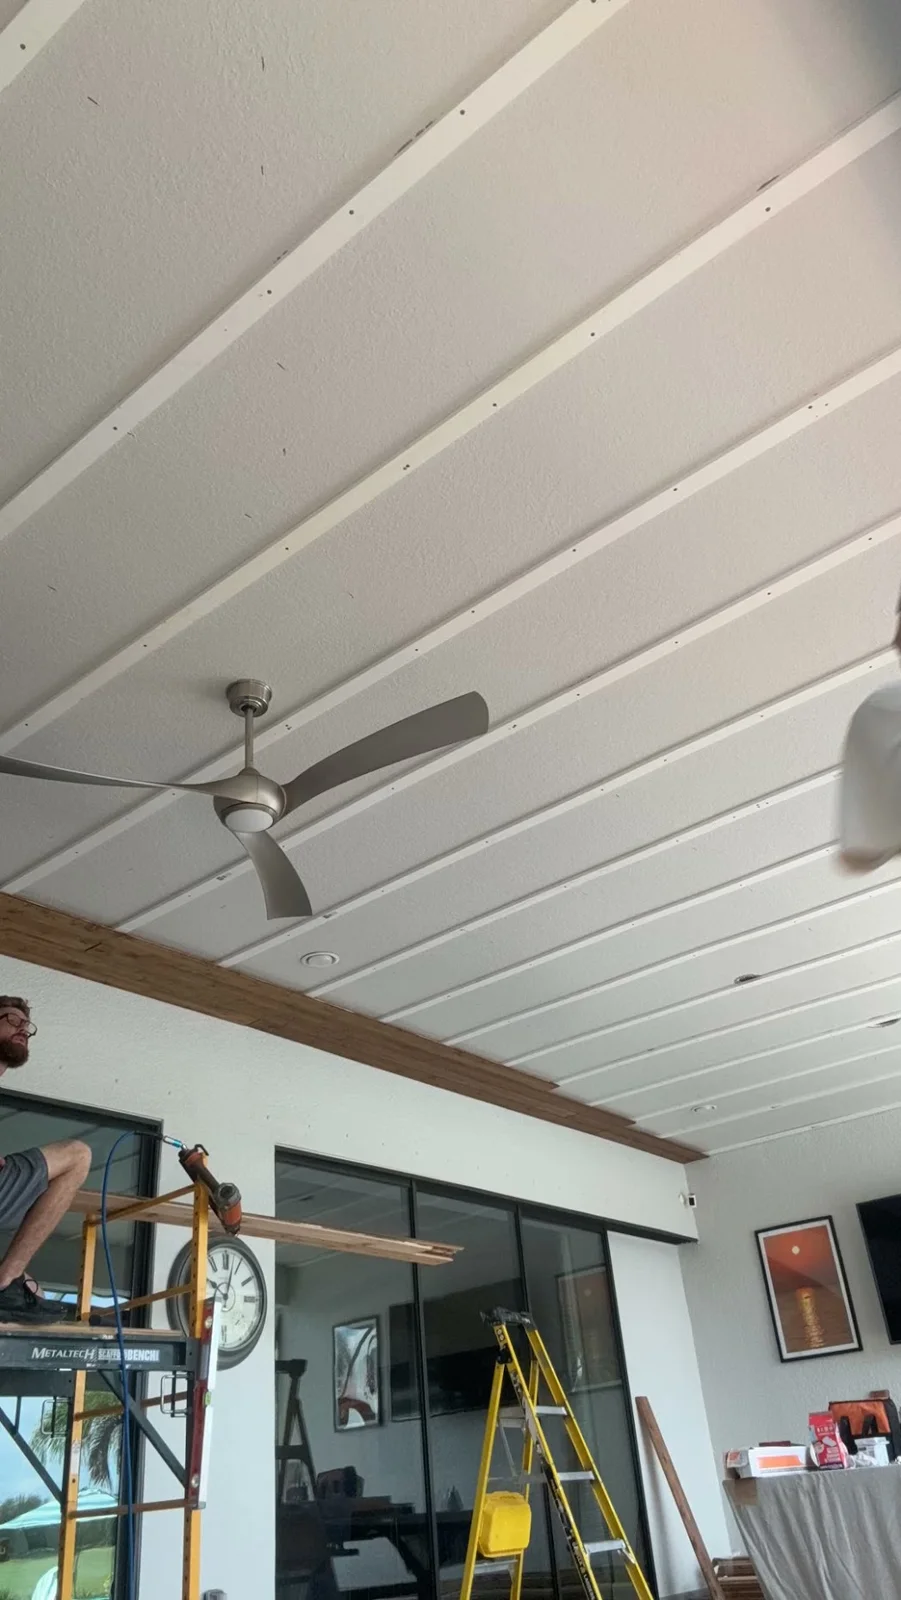
The framing took some planning. When the trusses run in one direction and the boards run across them, we can often fasten through the drywall directly into the framing. This lanai had a hip roof, so the framing changed direction. We added furring strips secured to the framing to give us consistent fastening points for the board layout she chose. Keeping the existing drywall saved her the cost and mess of tearing it out.
A warmer lanai with a beautiful golf course view
We also built custom floating cedar shelves using wood from the same supplier and matched them to the ceiling. Carrying the same wood and color through the room tied everything together.
They were thrilled with how it turned out. The cedar warmed up the space, with that beautiful golf course view as the backdrop. It’s a great spot to have friends over, settle in for a quiet evening, or just relax and watch the course.
As a golf nut myself, I absolutely loved this project.